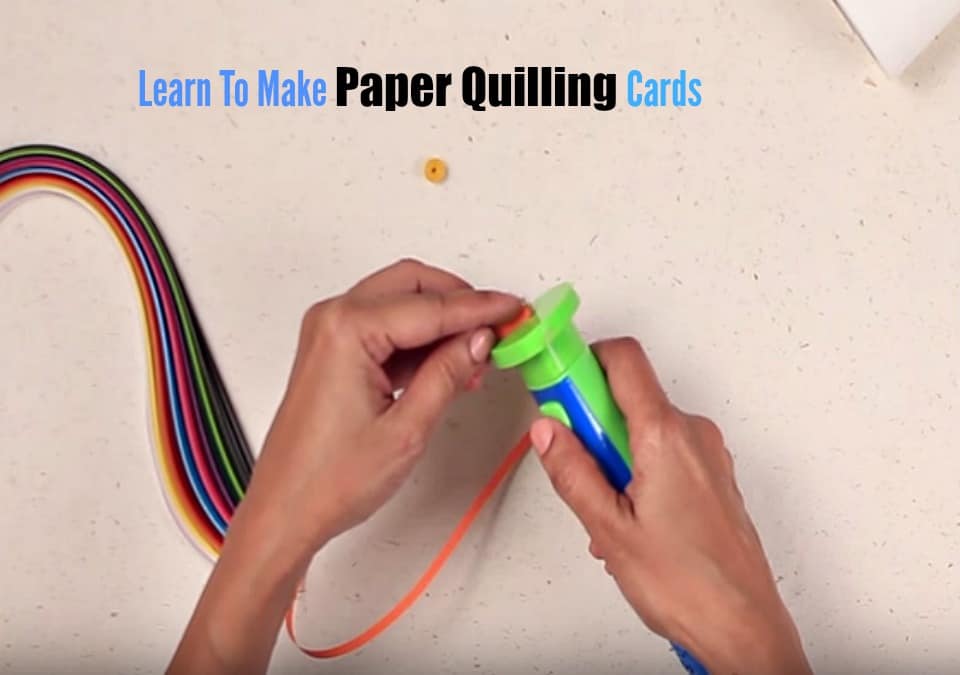
Learn To Make Paper Quilling Card This Festive Season

Handmade cards are still cherished by those who receive them, whether they are a gift in themselves or an accompaniment to one.
Cards aren’t just limited to simple drawings on the front cover anymore. You can make an ordinary card stand out with the help of paper quilling. What makes quilled cards so versatile is that you may use the technique to create anything, from the flame of a diya to the hat of an elf!
Simple quilling cards, which involve a basic design and minimum detail, are a great way for kids to start learning the craft technique. Coupled with pastel hues, these cards may even be used as gifts for less informal situations, such as wishing a loved one Good Day or Best Wishes. And for other occasions such as any festive season, you may use your favorite colour and combine it with some glitter or sparkles.
If you are someone who is usually very busy but still likes giving people personalized gifts, you may make more than one quilling greeting card at a time. Motifs such as flowers, butterflies, and hearts work for most events. A quilled Ganpati makes an auspicious gift for festive occasions.
When it comes to quilling cards for birthdays, anniversaries the options are endless! Stretch the limits of your imagination – for a little child, you could create their favorite cartoon; for your father’s birthday, you could quill accessories from his favorite sport. Once you begin paper quilling, there is no looking back, as you explore different quilling techniques & patterns for every need. Making a quilled card is a great way to show how you care for someone. It is also much easier than it looks!
Materials required to make for paper quilling card:
- Quilling paper in the colors of your choice
- Pre-cut slips of quilling paper
- Card paper/chart paper in colors of your choice
- Round-headed, slotted quilling tool (a toothpick may be used if you cannot find the tool)
- A pencil
- A pair of scissors
- Glue
Here are 5 Steps to make a beautiful and handmade paper quilling card:
- Cut the card/chart paper into a rectangle of 30cms x 15cms. Hold the paper horizontally and fold in half.
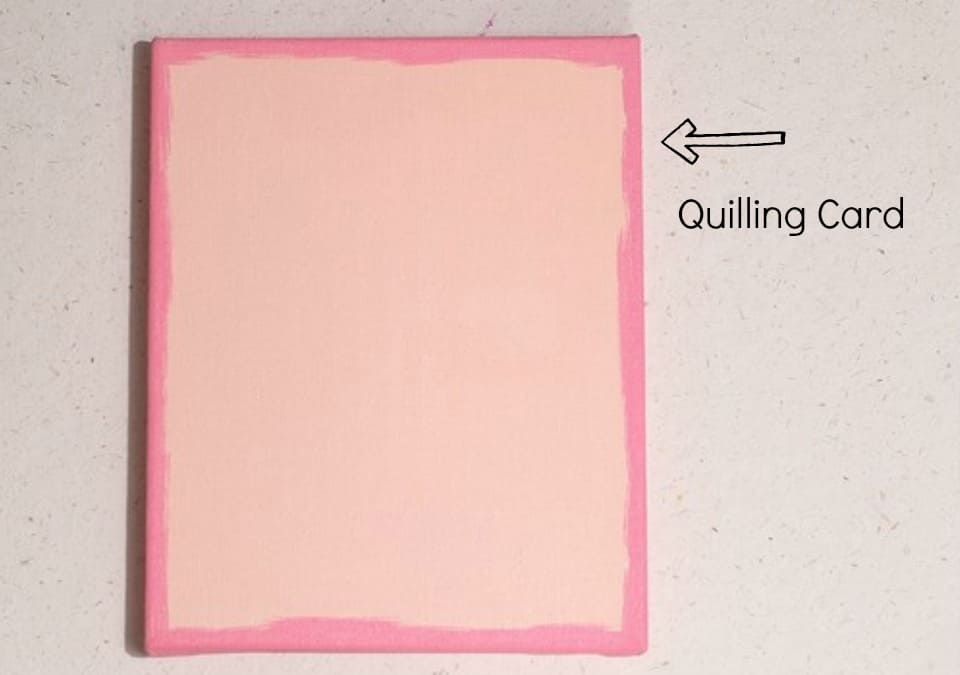
- Cut an 8cm square of chart paper of another color, preferably something that contrasts the color of the rectangle. Paste this square on the front cover or your card.
- While it dries, you may start work on your quilling coils. Experiment with different sizes of coils and give them shape by pressing them at two ends, for example, to create a leaf shape.
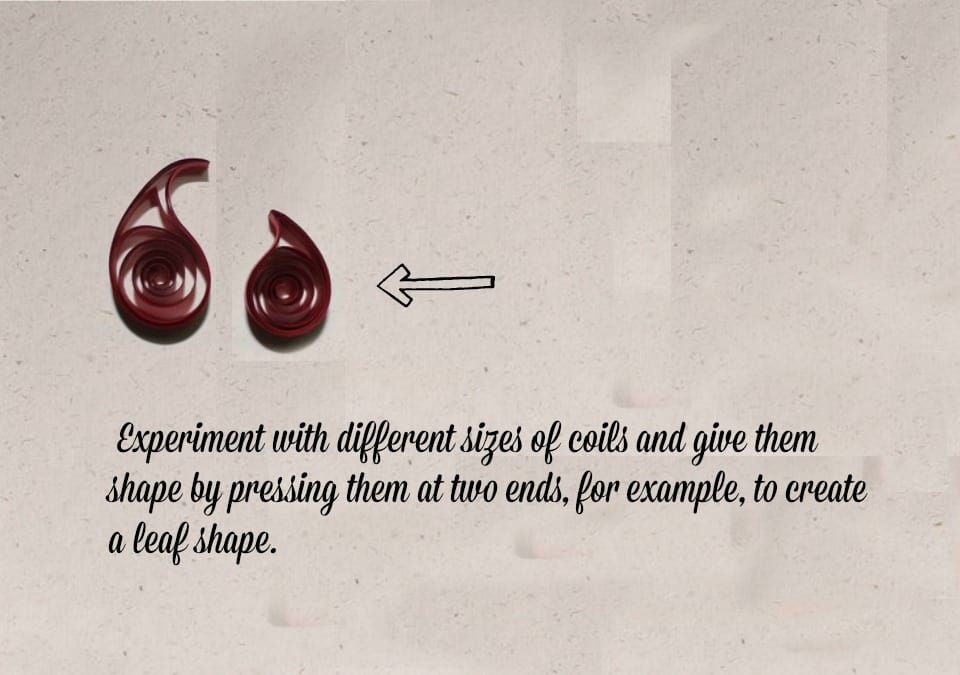
You may also vary how tight each coil should be – a very tightly coiled one could be used as the center of a flower. Looser ones, on the other hand, may be molded more easily into petals.
You may place several coils within quilling strips to create shapes such as a fish with multicolored scales. You may also use scrolls – coils that are not stuck at the end with glue – to create shapes such as hearts or waves of the sea, where one end of the coil is tight and the loose end is used to connect to that of another coil.
Glue the parts of individual motifs together using very little glue. Using too much adhesive may change the shape of the coils.
- Decide how you would like to place the coils along the edges of the square; making small markings using a pencil could help. Don’t glue them onto the card yet.
- Write the main message of the card in the center of the square and finally,
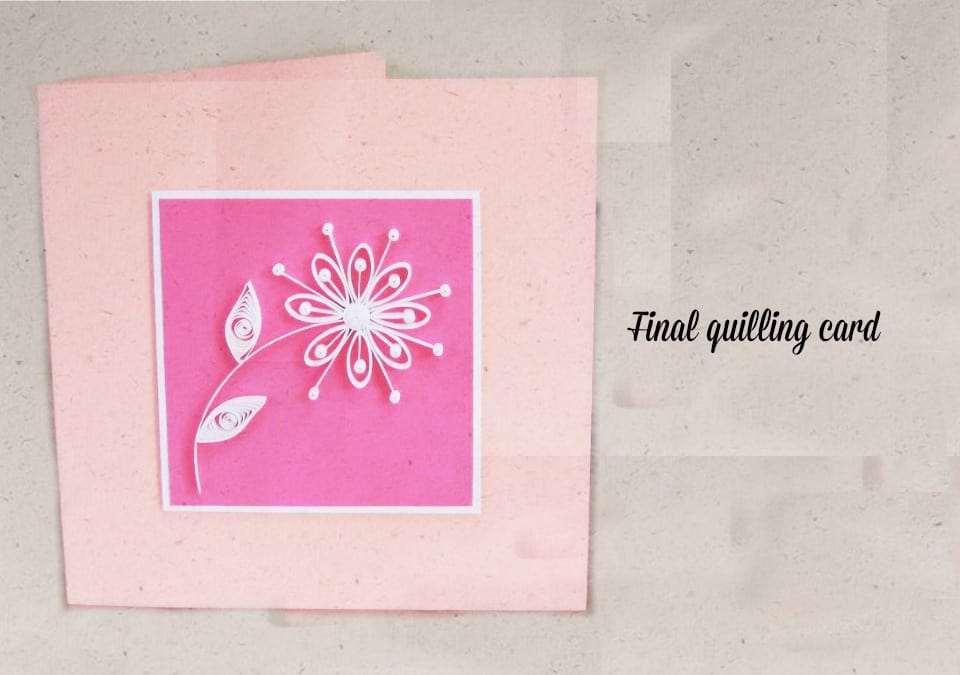
Your card is now complete! Give it to a loved one for a special occasion. Your effort is sure to warm the recipient’s heart!
To know more techniques and to know how to make some basic quilling shapes view this video –
Now that you learnt how to make a personalized quilling card, explore more and surprise your loved ones this festive season. Do let us know if you found this tutorial useful and let us know if you want us to keep coming up with more and more such DIY crafts.