
Paper-mache or papier-mache as it is officially known is the art of blending scraps of paper along with adhesives like glue or flour. Reinforcement materials like wires, chicken wires, balloons, or lightweight shapes may be used in order to mold the object you want to make accurately.
Did you know that you could do so much more with it like create custom hangings, the solar system for school projects or personalized lamps?
What can you make?
Although the literal meaning in French is ‘chewed paper’, the end-result of paper- mache art looks even better. A classic example is using the technique to transform old papers into beautiful centerpieces.
For a friend who loves nature, consider making some decorative rocks or a faux cacti garden. If you would like to gift paper mache crafts to your loved ones, create a variety of colorful vases thereby adding the much-needed zing to an otherwise unappealing living room.
Are you looking for great ideas to help your child with his science project? Consider constructing a paper-mache volcano. While it may look deceptively stable, he could surprise the onlookers with a sizzling eruption of red lava using soda and vinegar.
How to start?
If you’re wondering how to make paper-mache objects, just follow the eight steps mentioned below for a hassle-free project experience
You will require old newspapers or tissues, a bowl of water, another bowl to mix glue or flour with water, a couple of paintbrushes, and a balloon or any other base object.


Step 1: Make a paste of glue and water, or mix flour and water and whisk rapidly till it becomes a smooth paste. Balance the consistency by adding more adhesive or water to achieve the desired thickness.
Step 2: Roughly cut a large amount of paper into strips.
Step 3: Coat each strip with adhesive; make sure no lumps are formed.
Step 4: Apply the strips on the base object. Place the first layer vertically and follow it up with a horizontal layer.
Step 5: Three to four layers are recommended, although you may add as many as you want in order to achieve the desired thickness.
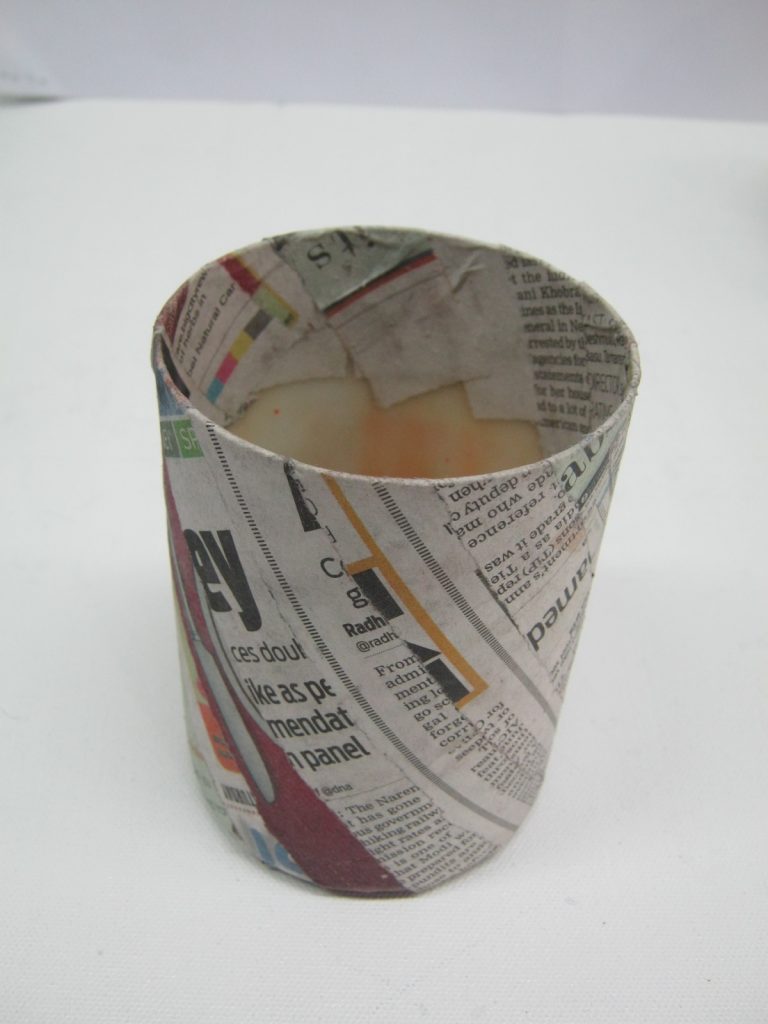

Step 6: Set the object aside to dry completely which may take anywhere from four hours to a day.
Step 7: If you’ve used a balloon, pop it after the object has completely dried out and discard the remnants.
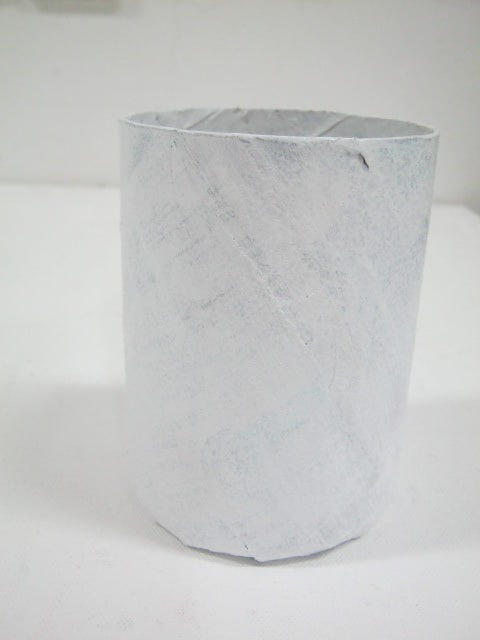
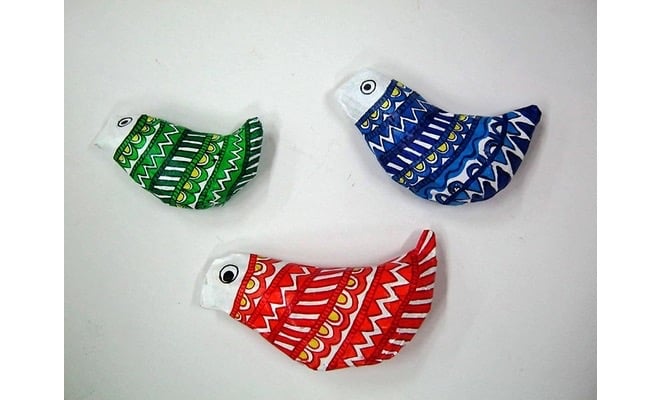
Step 8: Paint the object into colours of your choice and use it for the desired purpose.
Make your own paper mache by following the step-wise tutorial by Hobby Ideas.

Tips and hacks
Use salt in your adhesive mixture to ensure your art model never catches mold.
In order to make your surface water-resistant, spray some hair spray on the paint once it is completely dry.
If you choose to work with flour, remember that white flour provides a cleaner finish than wheat flour.
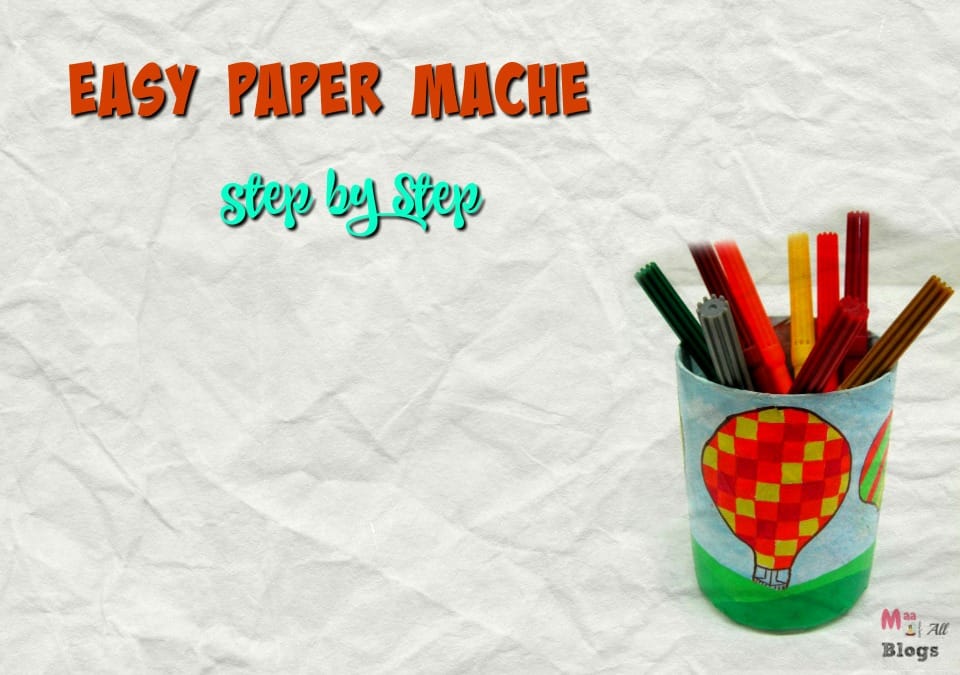
Paper-mache ideas may be implemented to create objects for daily use. You may make a jewelry basket with a gold leaf embellishment to store your earrings. Additionally, you may create a bowl for your fruits, patterned lamps, and a hot air balloon-styled pen holder to make your desk area more fun.

This post is in association with Hobby ideas and we would love to hear from you if you used this and would love to share your art on our social media if you mail it to us at maaofallblogs@gmail.com or post it on your page tagging us @maaofallblogs.